Magnetic particle testing
The magnetic partical testing (in american literature MPI) is on of the main method for testing of ferromagnetic part’s surface. The method is based on using magnetic field to locate surface discontinuities. Thanks to this phenomenom is possible to indicate defect with correct medium like magnetical dry powder or suspended in liquid solution.
The magnetic patrical testing is focused especially on searching material defects communicated with surface. Magnetic partical testing like penetration testing is used for indication of surface defects, moreover can identify discontinuities placed above the surface, not rise on the surface. This method puts the same demands on the quality as like as penetration method. Is possible to test many types of material – materials must be ferromagnetic.
The principle of operation methods
The principal of operation methods – visible indication of magnetic flux lines above the surface in area of discontinuities, catch of magnetic partical in the defect area.
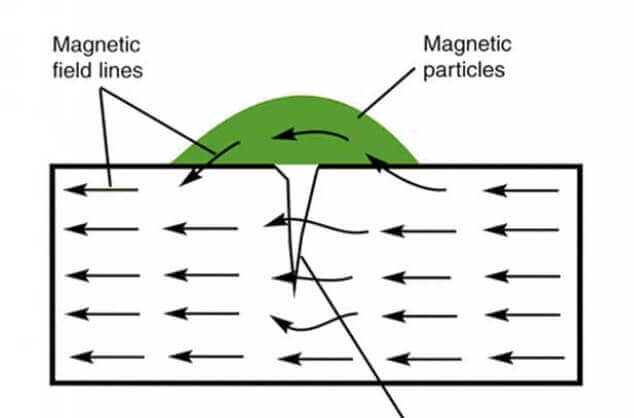
The magnetic inspection
The magnetic partical testing divinded into two (most used) methods acc. to type of indication and evaulation.
- - Fluorescence method
- - Colour method (black and white)
With the first one fluorescence method is using fluorescence solution. The common is water or oil suspension with metal particals with applied fluorescence dye. For image of indication is

necessary to fulfill two rules. The first one is the light (artificial or day light), acc. to standard must be 20lx. The second one is lifting oof tested area by black ultraviolet light with waves lenght 365 nm. In the light cone metal partical stay in the defect and produce visible indication.
The second method – colour, is the same procedure, but as detection solution is used oil suspension with metal particals with black visible colour. For contrast increasing and accuracy of method is used thin coat of white colour. Combination of these two olours we can gain maximal contrast. Thanks to this magnetic partical testing is accuracy for searching of small linear defects. For evaluation the minimal source of white light is 500 Lx.
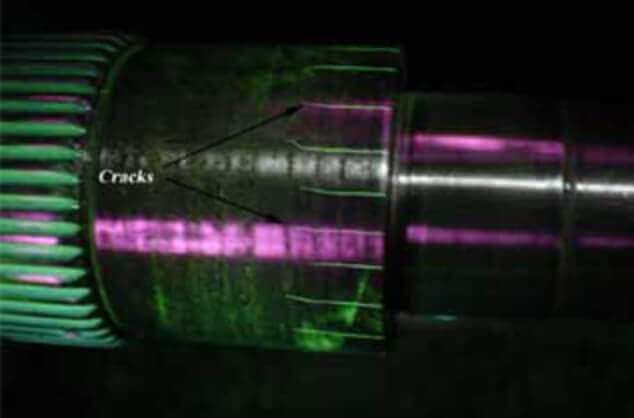
Indication during fluorescence control
Typical indication for fluorescence magnetic control. In this case, strict conditions are imposed on the ambient light intensity, which may be max. 20 lx.
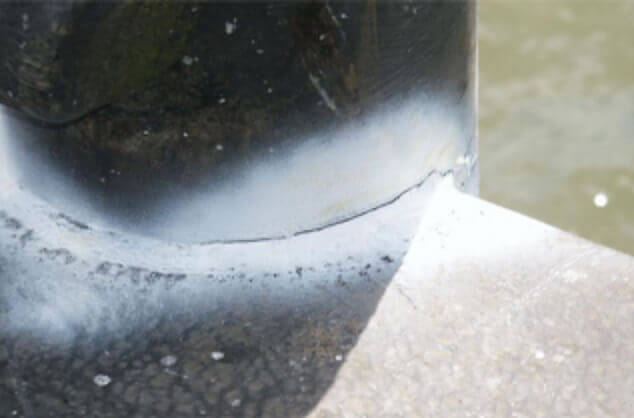
Indication during color (black and white) inspection
In the case of a color magnetic check, the defect indication is drawn in color against a white background.
This magnetic partical testing for searching of surface discontinuities is applied in all engineering and industrial sectors. Our customers are weldshops, forges (forgings), metal foundries (forgings from carbon steel and nodular cast iron).
Our MT workers are certified acc. to ČSN EN ISO 9712 at least in 2 level.
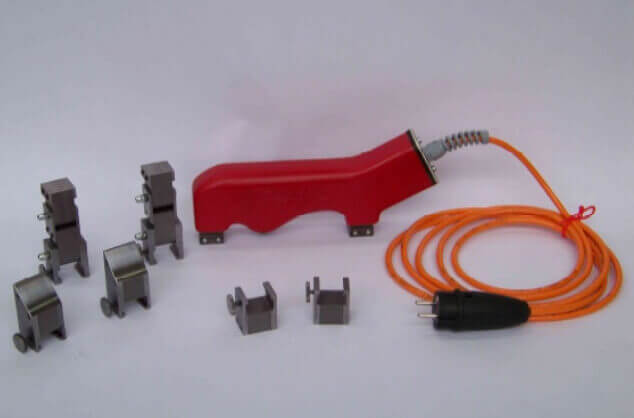
The electromagnetic yoke TIEDE TV M 220N
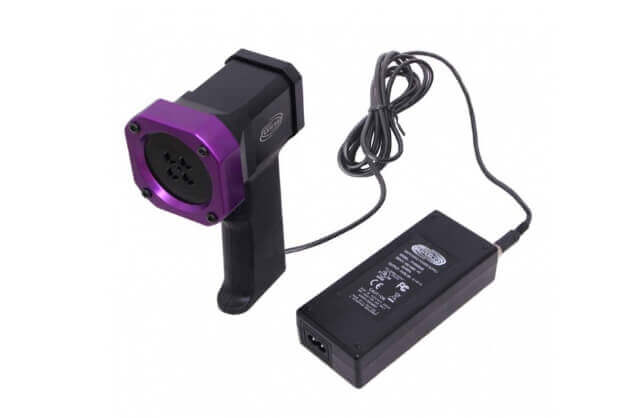
UV lamp Spectroline 365, UV lamp Labino Midbeam
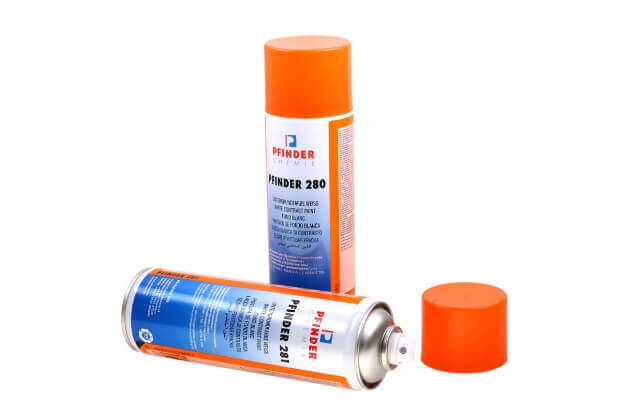
Powders and suspensions by renowned suppliers